Do you want to know how to replace the shower valve?
A leaking or broken shower valve can create a lot of stress and needs immediate replacement to prevent water from leaking. This is a serious issue; however, you can fix it yourself.
Removing the old valve and installing a new one can be time-consuming, but you have to be patient. So, let us learn a step-by-step method to help you in fixing this issue. Don’t skip any important steps and work carefully while replacing the shower valve.
Before You Begin Replacing a Shower Valve
First, you must find out the type and size of shower valve you want to replace because most brands have different shower accessories. The correct size can be found by looking up different brands. Various websites can also be searched for this purpose.
If you didn’t find the exact size, you must remove the shower valve and take it to the home improvement store to find the correct one. While searching for the right size, you must close the main valve of the water supply to prevent water damage.
Tools and Materials Required
- Allen wrench
- Knife
- Screwdrivers
- Small hacksaw
- New shower faucet valve
- Pliers
- Cloth
- Metal valve clip
- Paper towels
Method of Shower Valve Replacement
 Step 1. Close the Water Supply Valve
 Step 1. Close the Water Supply Valve
The water supply must be turned off so that water doesn’t flow into the shower and leaks don’t occur. Find the water supply valve at your home and close them. Some valves will not turn off without a screwdriver, so use it if required.

At the left and right sides of the shower valve cartridge are water stops for cold and hot water. You can turn them off to prevent water leakage, but closing the main water supply is a good idea before starting the process.
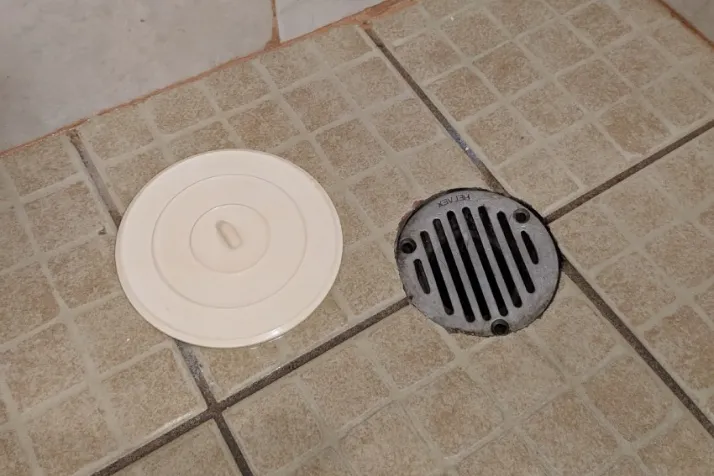
Step 2. Cover the Drain of the Shower
During the procedure, the shower drain must be covered with a cloth. Because if you remove or leave it uncovered, the washers, screws, and other small items will fall into the drain, and it will be clogged.
It will also keep the area clean during the process. Keep all the screws and other parts in a safe place so they are available whenever you need them.
Step 3. Taking Out the Shower Handle
 Step 3. Taking Out the Shower Handle
A single lever handle of the shower faucet can be taken out with an Allen wrench. Different brands manufacture different showerheads having different heights, and you will use the wrench according to the same size.
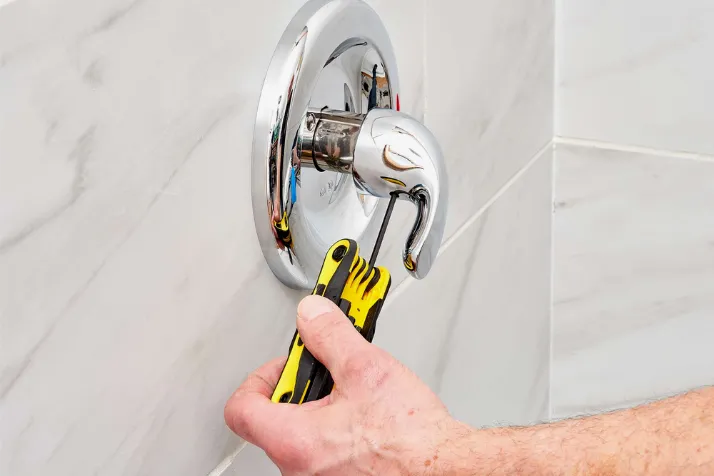
Some handles are made of glass, plastic, or some decorative material. A small plastic cap is placed over the screw of these handles. You must pop out the cap using a flat head screwdriver and unscrew the bolt.
A two-handled shower has a cap over its screw, so remove it with the same method. All the other parts of the shower valves can be removed using a screwdriver. After removing the handles and screws, keep all the things in a safe place.
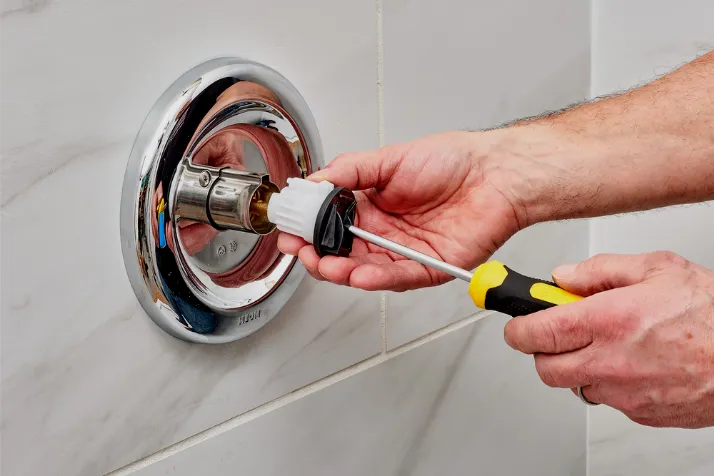
Step 4. Remove and Clean the Trim Plate
Behind the shower faucet’s handle is a flat backing called a trim plate. It is fixed to protect the shower valve assembly and the shower wall hole from water. If water seeps into the wall, it causes serious damage to your house.

Use a screwdriver to remove the screws on the trim plate and take it out. Place the screws and other accessories aside. It’s important to remove the old sealing and clean all the handle parts and trim plate.
Most shower faucets do not need to remove the trim plate to replace the shower valve. They are designed to touch the shower valve directly after removing the handle.
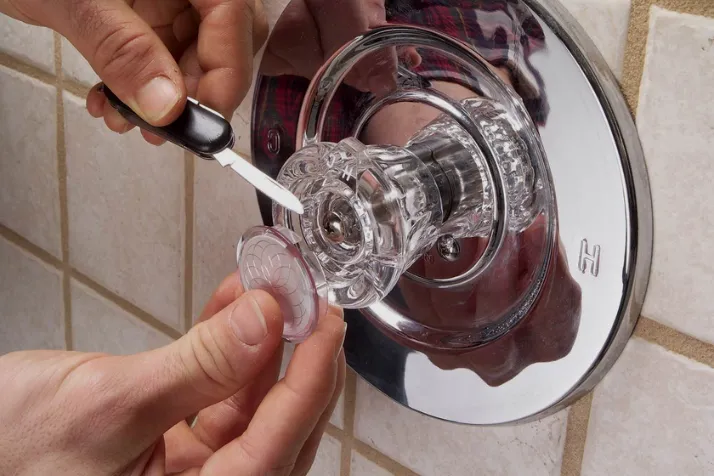
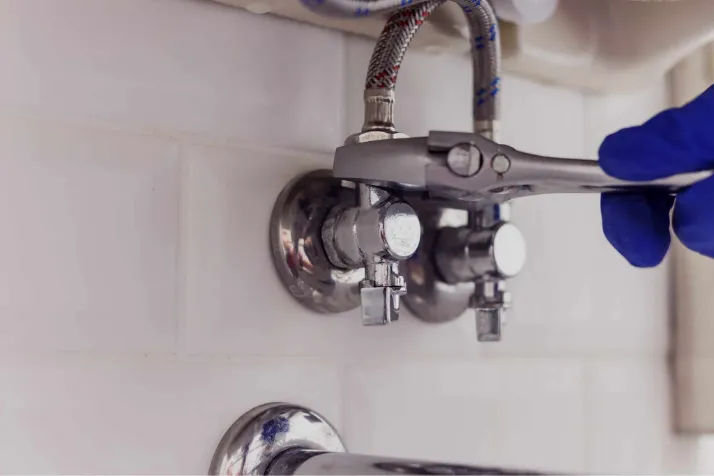
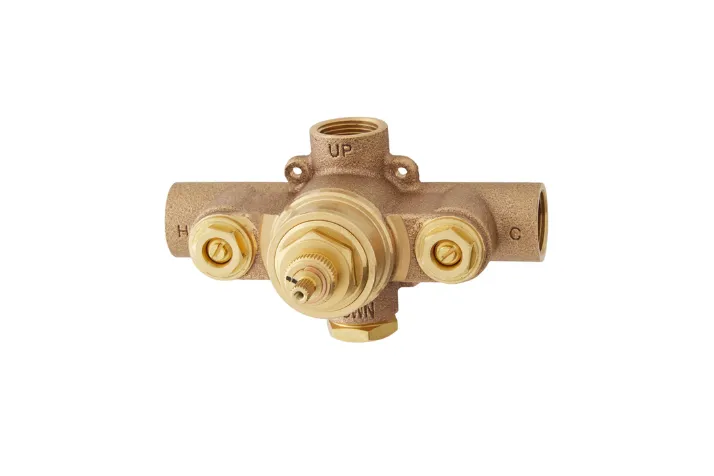
Step 5. Removing the Old Shower Control Valve
 Step 5. Removing the Old Shower Control Valve
After removing the trim plate, there will be around a 30cm hole in the wall. It will be good to enlarge this area a bit. A wall made of glass or tiles should be cut enough to widen the hole.
You can contact a plumber about the hole size in the wall if you don’t know how much it should be cut. It should be cut according to the size of the trim plate. It should be enough that it covers the plate.
Find the clip that holds the shower valve and remove it using needle nose pliers. Take it out and keep it aside. If the clip’s condition is fine, you can use it again during the shower valve installation.
There will be a new clip with the new cartridge, but if you think the old one will be better, you can use it. Firmly hold the cartridge’s metal end and remove the shower valve using pliers. If it’s unable to remove, shake it a little and then take it out. Keep it aside, or if it’s broken, throw it away.
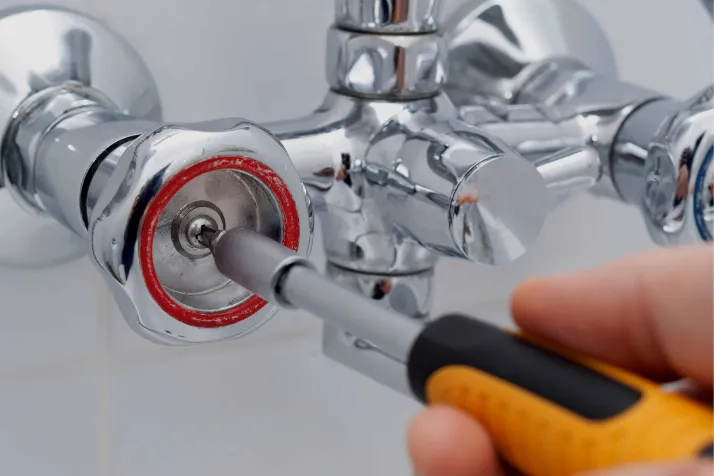
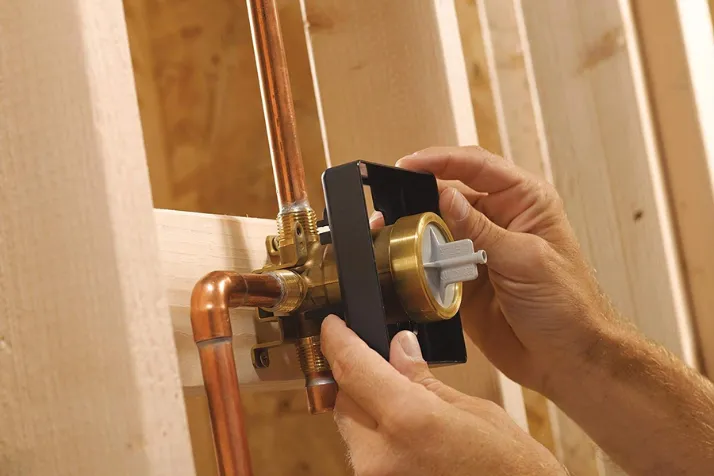
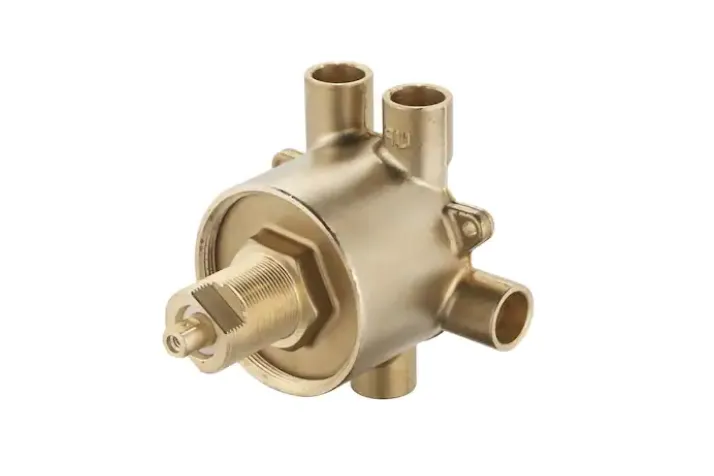
Step 6. Installing New Shower Valve
 Step 6. Installing New Shower Valve
Use pliers to hold the cartridge’s metal end and keep it in the place of the old one. Keep it firmly by shaking it a little. Now take the needle nose plier to keep the metal clip. Make sure it fits in the area as the old one was.
Now attach the shower valve with the water pipe. Keep in mind that shower valve cartridges are sensitive to heat, so if they need repairing, first do it. In case of any rust and corrosion, replace the whole set of shower valves.
Step 7. Turn on the Water Supply
 Step 7. Turn on the Water Supply
If you have turned off the water supply by tightening the water stops at the left and right sides of the showerhead, switch on them by turning them to the right.
If you have closed the valve of the whole house’s water supply, open it. This step should be done slowly, so water bursting doesn’t occur due to leaks.
Step 8. Check for Leakage
 Step 8. Check for Leakage
Use a paper towel to dry the shower valve and wait a while. You can easily detect this by observing the paper towel. The absorbing quality of the towel will easily find leakage, even if there is a drop of water on it.
Step 9. Putting back the Trim Plate and Handle
 Step 9. Putting back the Trim Plate and Handle
Keep the trim plate over the hole and use a screwdriver to tighten the screws. If sealing is required for the trim plate before screwing it, apply it before fitting the screws.
Now, take the handle and place it by screwing it. Check it by turning it on so that it works. Uncover the shower drain.
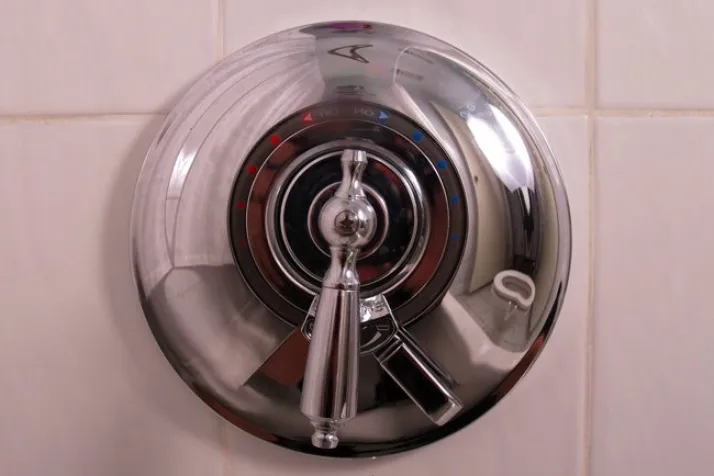
Shower Valves Types
In various places, homes install various **types** of shower valves in their bathrooms. If you want to know more about why this is important, keep reading!
1. Pressure Balancing Valve
These valves are common throughout your house and can control your water’s temperature. They keep a constant ratio of cold and hot water; by adjusting the handles of showers to maintain the proper shower temperature. You can change this temperature whenever required.
2. Thermostatic Valves
These valves can control the temperature of water to a fixed level. In this system, when you turn on the faucet, wait a while so that water reaches your chosen temperature. You don’t have to adjust these valves repeatedly to get the specific level.
3. Diverter or Transfer Valves
They adjust the flow of water in the shower. A part of this valve is responsible for stopping water flowing from the shower tap, which the shower head receives, and vice-versa.
How to Select the Correct Shower Valve?
Before replacing the shower valve, you must consider all the types to select the right one. A pressure balancing valve is the most common in homes because they supply water with the right amount of pressure.
Select a diverter and transfer valve if the water flow needs to be adjusted between the tub and the shower. Choose thermostatic valves if you want the temperature of water to a fixed level according to your choice.
The shower valve type depends on the shower cartridge and its faucet. You can buy the same valve as the old one and can select a new design too. However, the size cannot be changed.
Common Problems with the Shower Valves
Over time, different types of problems occur with the shower valves. These problems should be fixed on time to prevent more damage and leaks and increase efficiency. Some common issues are as follows:
1. Wear and Tear
Shower valves experience wear and tear due to daily use. Gradually, the caulk wears out and results in leakage. When they are not repaired on time, they slowly slow down the working of the shower valve, and temperature instability occurs.
2. Lime Scale Buildup
Over time, the shower valve cartridge is filled with dirt and mess. This reduces the performance of the shower valve and makes it unstable temperature.
The problems created by sediment buildup can be resolved by cleaning the shower faucet set. All the components are removed from the cartridge and soaked in the solution of vinegar and water to clean.
3. Hot Water Changes
When you install a new water heater, many hot water issues are created with its adjustment. The valve clip requires temperature adjustment in the pressure balancing valve, and a temperature setting is needed for the thermostatic valve.
Tips on Fitting a New Shower Valve
Follow these tips while replacing the shower valve:
- While installing, if you have any confusion, contact a professional plumber. Make sure you have installed the valve correctly, and that the process is completed without any risk of damage.
- Gather all the tools and materials that will be required during the process of installation.
- Enlarge the size of the hole according to the trim plate. It should not be more than the hole.
- Before installing the new shower valve, don’t forget to switch off the water supply.
- In the procedure of shower valve installation, don’t miss the chance to clean all the shower parts.
- The materials used in your bathroom should be considered first. You must repair the copper pipes if required. It’s necessary too to know the difference between the different accessories of shower assembly.
FAQs – Frequently Asked Questions
How to Replace a Shower Valve with a DIY Route?
You must have experience in plumbing work to replace a shower valve. Changing a showerhead is a very easier task compared to replacing a shower valve. You must gain complete knowledge before starting this process.
Are Shower Valves Universal?
Different brands manufacture unique shower valves and faucets. The products of all the brands are not identical.
Is it Possible to Replace a Shower Valve without Removing the Tile?
To replace a shower valve, you must break the tile to get access to the leakage. If you call a plumber to do it, he will break enough tile as required.
Is This Necessary to Replace a Shower Valve?
When you turn on the shower faucet and detect any leaks, it should be replaced to prevent it from damaging your home. This leakage can also result in water damage.
How Often Should a Shower Valve Need Replacement?
The life of most shower valves is 15 – 20 years. It depends on how you maintain them and how much life they will have. During the installation of the shower valve, you must select a high-quality product.
Final Thoughts
You can do it yourself by choosing the right tools and materials and preparing for the shower valve installation. However, it would be best to learn effective ways to replace the shower valve.
After replacing your old damaged shower valve with a new one, you will get better water flow performance and temperature control. If You Have No Experience in Plumbing, Contact a Professional to Install It.
Leave a Reply